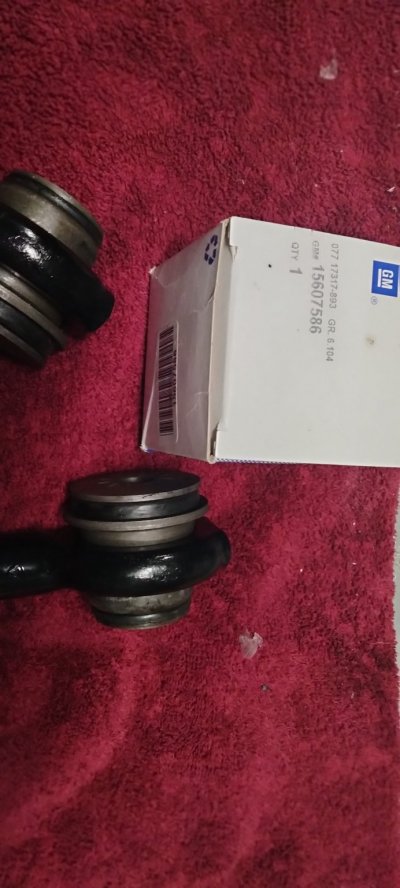
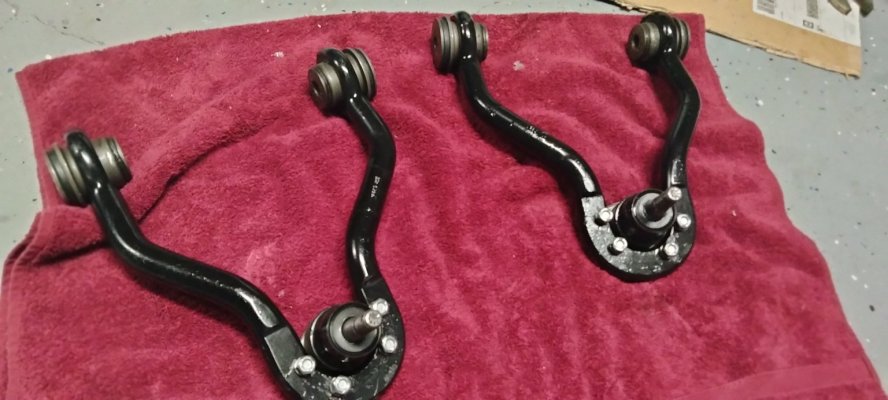
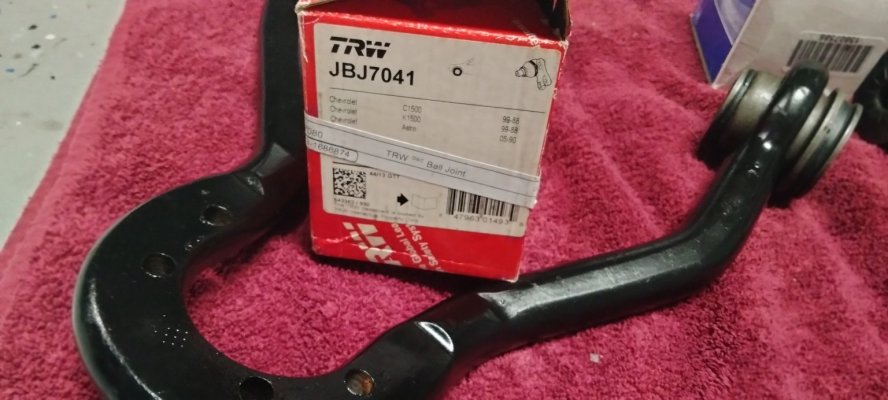
Lower control arm bushings

Disclaimer: Links on this page pointing to Amazon, eBay and other sites may include affiliate code. If you click them and make a purchase, we may earn a small commission.

alpinecrick

I'm Awesome
Joined
Jun 12, 2015
Messages
1,640
Reaction score
1,741
Location
Western Slope of Colorado
One of the few times I disagree with Schurkey….,

I installed poly bushings in my c-arms. They squeaked like a herd of gunshot crickets, groaned like a herd of dying buffalo, made the ride harsher.

After a year or so of putting up with this I went to all the trouble of pulling my hard won poly bushings and installing OEM bushings.

This was on my 96 K1500.

Me and my truck are happier now.

To add insult to injury there was nothing wrong with my original bushings……
 

MrobsMan

OBS Enthusiast
Joined
Jul 21, 2021
Messages
53
Reaction score
17
Location
Indiana
The downside to the Poly bushing kits for these trucks, is that they include the steel sleeves for the lower control arms, but NOT for the upper arms. The steel sleeves on the upper arms are 'bout guaranteed to be rusted to death. I had to fabricate new steel sleeves since neither Energy Suspension nor Prothane include the sleeves for the upper bushings.

You must be registered for see images attach
Are the upper control arm bushings the same front and rearward? Are they all the same on both sides?
 

scott2093

I'm Awesome
Joined
Apr 23, 2023
Messages
877
Reaction score
667
Location
Florida

Attachments

  • IMG20221029101849.jpg
    IMG20221029101849.jpg
    151.9 KB · Views: 5
  • IMG20221029102637.jpg
    IMG20221029102637.jpg
    166.8 KB · Views: 5
  • IMG20221029101903.jpg
    IMG20221029101903.jpg
    158.8 KB · Views: 5

scott2093

I'm Awesome
Joined
Apr 23, 2023
Messages
877
Reaction score
667
Location
Florida
So there isn’t a specific side for side bushing like the lower?
No I don't recall there being different ones. Just orientation needs to be paid attention to obviously...
Can always type your vin into GM Parts Giant to be sure...
 

MrobsMan

OBS Enthusiast
Joined
Jul 21, 2021
Messages
53
Reaction score
17
Location
Indiana
No I don't recall there being different ones. Just orientation needs to be paid attention to obviously...
Can always type your vin into GM Parts Giant to be sure...
Yes because I pressed mine in until the little lip was seated up against the surface. I noticed one side of the control arm was chamfered I’m assuming so the bushing would go in further on one side so the control arm would be in the right spot to line up with the knuckle. I think I did everything right I’m just cautious.. I just pressed all mine with a bolt and cups and went until the bolt got really tight which means the bushing is fully seated.
 

scott2093

I'm Awesome
Joined
Apr 23, 2023
Messages
877
Reaction score
667
Location
Florida
I think I did everything right I’m just cautious.. I just pressed all mine with a bolt and cups and went until the bolt got really tight which means the bushing is fully seated.
Yeah it's always nerve racking for me... I really need to start taking real notes and have a checklist to follow. Too many times I spend time wondering if I did everything I was supposed to. I suppose I could make a check mark next to the items on printed out pages of the manual or something....
 

MrobsMan

OBS Enthusiast
Joined
Jul 21, 2021
Messages
53
Reaction score
17
Location
Indiana
Yeah it's always nerve racking for me... I really need to start taking real notes and have a checklist to follow. Too many times I spend time wondering if I did everything I was supposed to. I suppose I could make a check mark next to the items on printed out pages of the manual or something...
I should’ve looked very closely to make sure they were all the same but from what I remember I didn’t see any difference on the bushings the difference was on the control arms and how far the bushing actually went in on each side
 
Last edited:

scott2093

I'm Awesome
Joined
Apr 23, 2023
Messages
877
Reaction score
667
Location
Florida
One of the few times I disagree with Schurkey….,

I installed poly bushings in my c-arms. They squeaked like a herd of gunshot crickets, groaned like a herd of dying buffalo, made the ride harsher.

After a year or so of putting up with this I went to all the trouble of pulling my hard won poly bushings and installing OEM bushings.

This was on my 96 K1500.

Me and my truck are happier now.
Hmmm..Have heard of the noise issues.... grease doesn't take care of that with these?
Was more interested in ride quality since that seems to be what people talk about but will look into it further....Poly does seem it would be a bit more of an enjoyable install for me...
 

Road Trip

Supporting Member
Supporting Member
Joined
Jul 8, 2023
Messages
1,407
Reaction score
4,003
Location
Syracuse, NY
Yeah it's always nerve racking for me... I really need to start taking real notes and have a checklist to follow.

That is the classic aerospace way. Normally we just followed tech orders, job guides, and checklists
that we weren't supposed to put any marks in. And since we were always teams of at least 2
on any on-aircraft work, if I skipped a step my team member would be quick to point it out...and
vice versa.

Too many times I spend time wondering if I did everything I was supposed to. I suppose I could make a check mark next to the items on printed out pages of the manual or something....

Whenever we had to add new capability to our Avionics package, sometimes this would entail adding new
wires to the harness, installing new mounts, adding black boxes, etc. Some of these mods would run to
20+ pages worth of individual steps, (including IPIs {In Process Inspections} by QA) that had to be performed
in the proper sequence.

In order to help eliminate that "wondering if I/we did everything we were supposed to" it was legal to print out
a marked "Working Copy" from the Master Copy of the modification instructions, and we could mark that up as
needed to keep track of our progress. We used check marks, initialed/dated. Especially when we were running
2 shifts.

From a distance I'm sure that this seems like overkill, but if QA or the shop supervisor had a question, no deer in
the headlights look for yours truly, for if any questions came up the marked checklist told the entire story of who,
what, when, etc.

****

From personal experience, I find that when working solo a printed out checklist is even more valuable than when
we used it to synchronize a multi-team aircraft mod. If for no other reason than I can be interrupted, and even if
I don't lose my place, it does give a place for self-doubt to build. And building the checklist to be printed out
is a nice mental dry run of the physical project itself, for by finding/printing out working copies of the relevant FSM
pages, instead of having to stop progress and find the next step in the process and losing momentum, you instead
just proceed smoothly from step to step. It's remarkable how much faster this can be when making progress is
the bulk of the wall clock time per session.

Kind of a divide & conquer. Check mark & my initials by every completed step, plus notes to myself about other
things I discover along the way. Certainly not necessary for the twenty-something Road Trip (or at least that's what
I used to think) ...but now on the far side of life a detailed checklist is where the zen of a complex project originates. :0)
 
Last edited:
Top