Step 4: (Sorry for the delayed response on this. I did get it all back together same day but had to immediately hit the road afterwards).
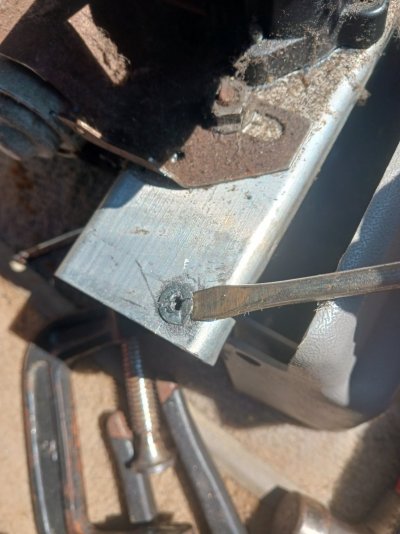
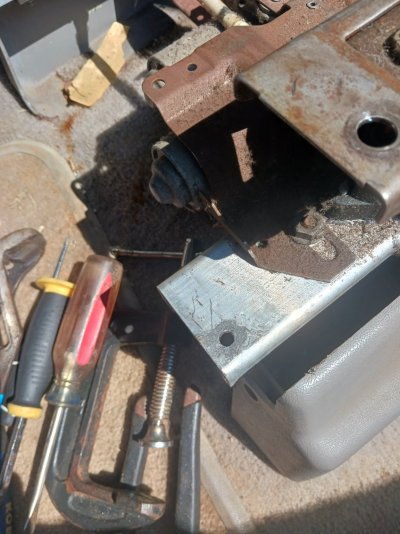
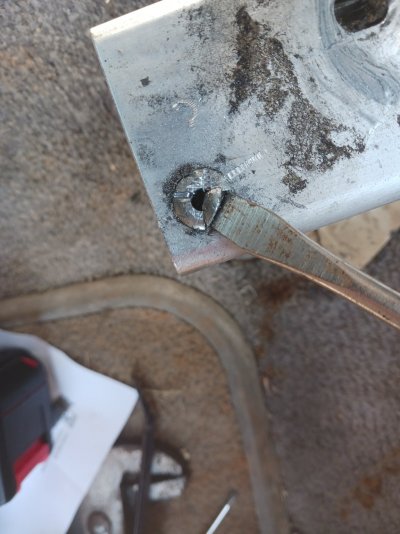
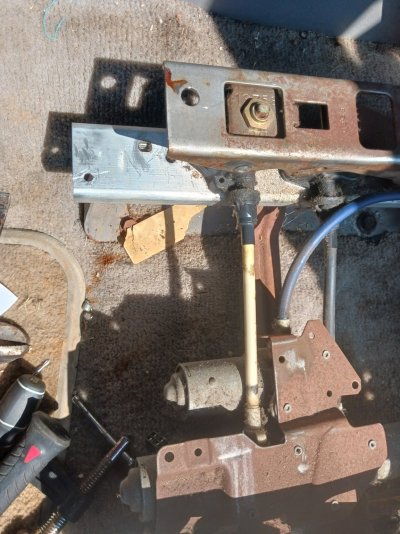
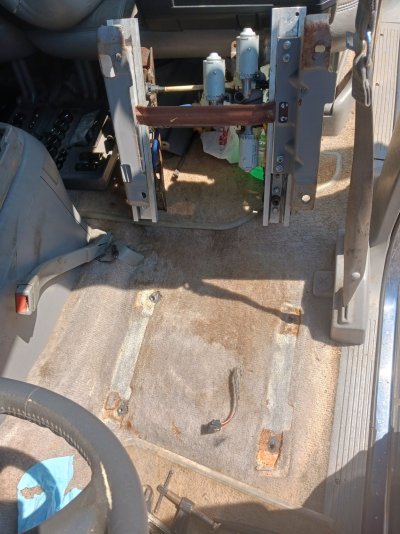
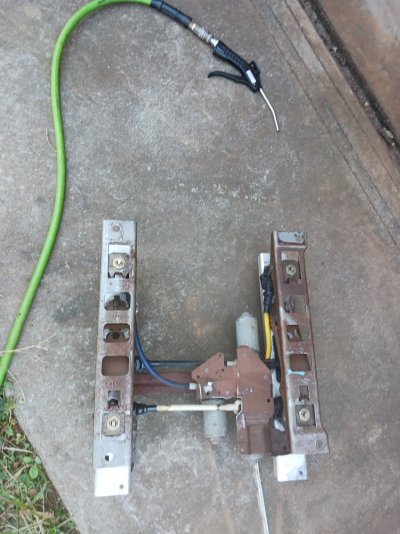
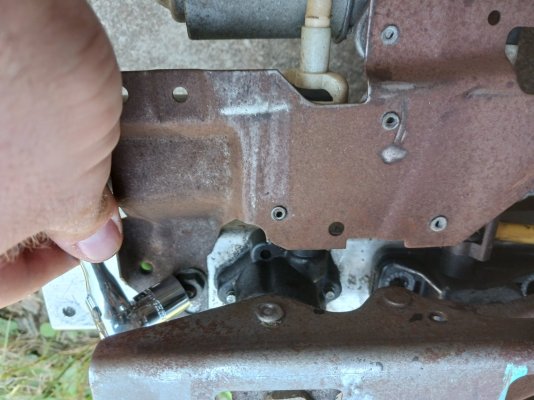
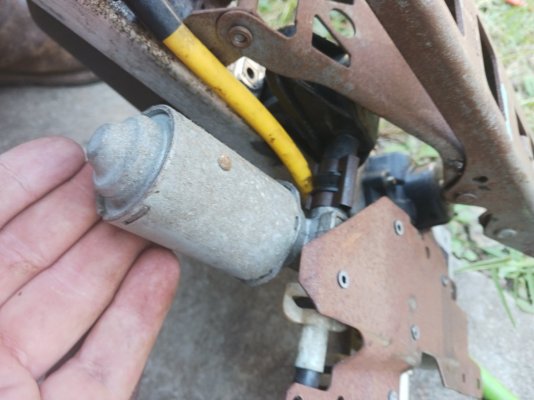
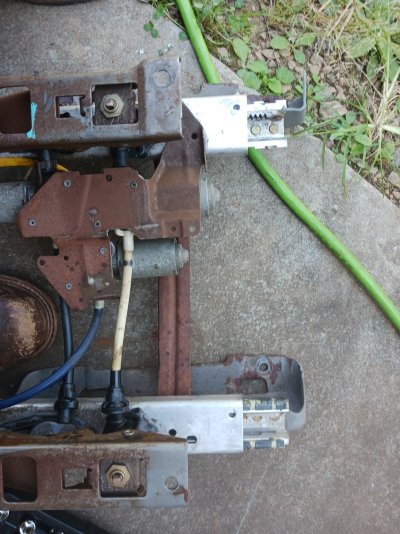
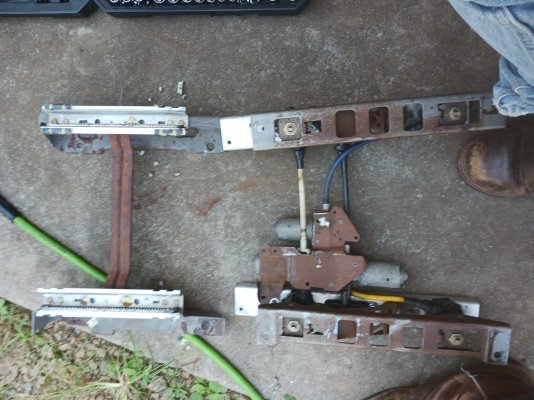
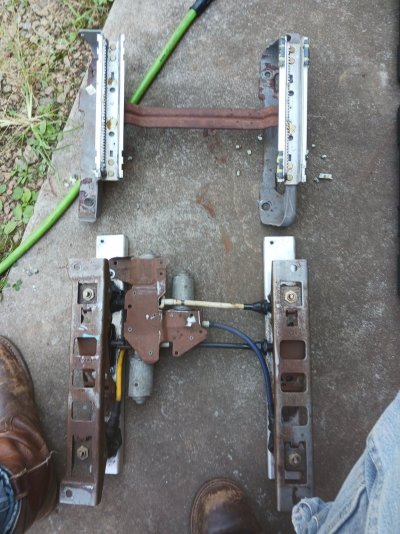
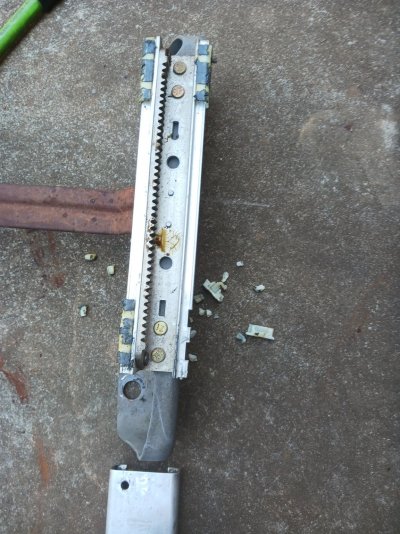
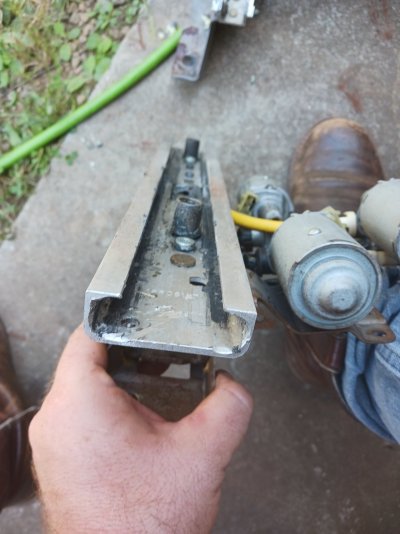
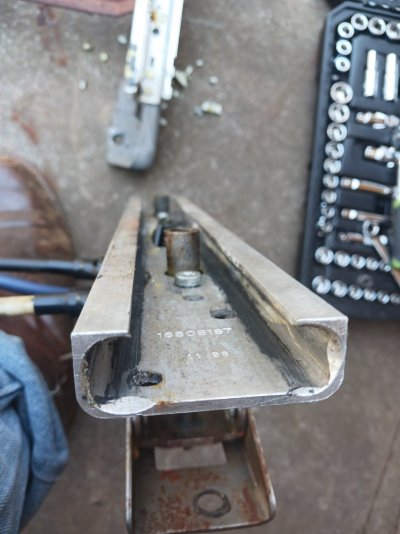
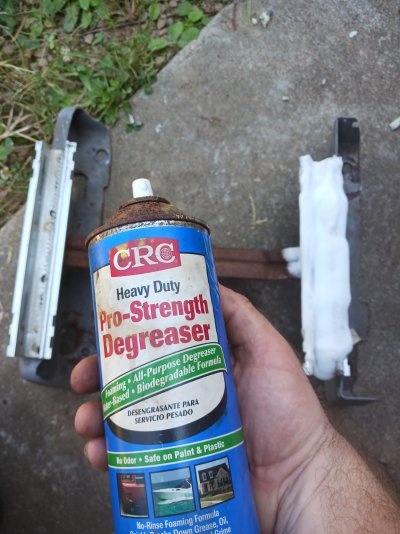
Reassembly is a bit tricky, just have a hard level surface to evenly push both sides of the upper & lower rails back together & it won't be so difficult. Getting some of the bushings to snap in took a little trial & error, they have grooves they have to fit precisely in or they wont take at all. With some moderate pressure, & exact guidance they snapped in place. These bushings are tight, but well made & have absolutely no slop. With the tracks cleaned, I applied the grease supplied with the new bushings. However, I also opted to add additional lubrication so as to help prolong the life of not just the bushings but the motors also. During reassembly, I discovered that I accidently pulled out one of the cables from the actuator that raises the seat. I had to pull the tracks back apart in order to get them back together as there wasn't enough flexibility w/o fear of something snapping the cable, so keep an eye of caution out for that. Once back together, I worked the tracks back & forth with each time pushing the excess lube back into the bushings path of travel. Several times of doing this made the track movement easier & easier. The "high performance" grease supplied had separated in the tube, parts coming out white & other clear. The additional grease I used was bought from Harbor Freight, it's what I use in the bearings & slides for my kids toys, wagons, strollers, etc. Damn good stuff, safe for the family & great for this application (I even greased the gears). Once everything was correctly assembled, I used the little peep hole in the upper track to line up the hole in the bottom track as pictured. This way, I not only know that the bolt holes are lined up but so are the tracks evenly with the other side thus preventing any off center torque from misaligned tracks. This also let the gear box slip right in & the gear & gear track mate back easily. Press the gear boxes back in, put bolts in, bolt everything back to the body, plug up, test movement, find some bolts to put back in place of the rivet holes, bolt down the seat, side panel & done. Now, ive had this 99 Suburban for 6 years, never have I felt so sturdy in that time driving it as I do now. It's tighter than a roller coaster harness & has no give when adjusting myself into the seat. The level of feel for the road this little project has added is real. It has amazed me to learn just how much of a disconnect from the vehicles travel I had been missing. In a few ways, I'm having to relearn the feel of my Suburban. Additional pictures to follow shortly.